Photos get deleted? Download free recovery software to recover deleted / lost photos now!In this page you will learn an easy guide on lost photos recovery.
About photo recovery issue
Those days have gone when people took photos with reel cameras, developed pictures and then put pictures in albums. Nowadays, people store their photos on cell photos, computers, laptops, USB drive, camera cards, etc., which is quite convenient. However, these massive storage devices can’t avoid data loss problem.
There are various causes that lead to data loss, and here lists the most frequent factors:
- Physical issue: storage media may fail physically if they fall to floor from desk or they can’t be detected by computer. In such cases, users should find a professional recovery center for help.
- Virus or malware attack: virus and malware not only retards computer but also damage files or cause data loss.
- Human error: the accidental deletion or formatting is the major reason of photo loss.
- File system error: partition will become inaccessible when file system goes wrong, such as partition turns RAW.
Free recovery software for lost photos is available
As free photo recovery software, Eassos Recovery Free is capable of recovering deleted or formatted photos including wedding pictures, birthday albums, family photos, personnel snapshots, travel pictures, selfies from all brands of digital camera, for example, Canon, Kodak, Sony, Toshiba, Samsung and more. With advanced photo recovery technology, this free recovery software also can retrieve lost text documents, videos, audios, Microsoft Office files, etc. from computer, laptop, portable drives, memory cards, cell phones and other similar storage media devices.
How to recover lost/deleted photos using free recovery software?
Below are steps of lost / deleted photo recovery. The whole process only takes several minutes, which is easy to learn.
Step 1: Install Eassos Recovery Free on computer.
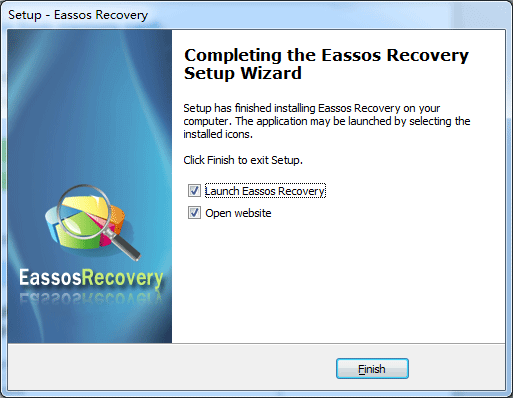
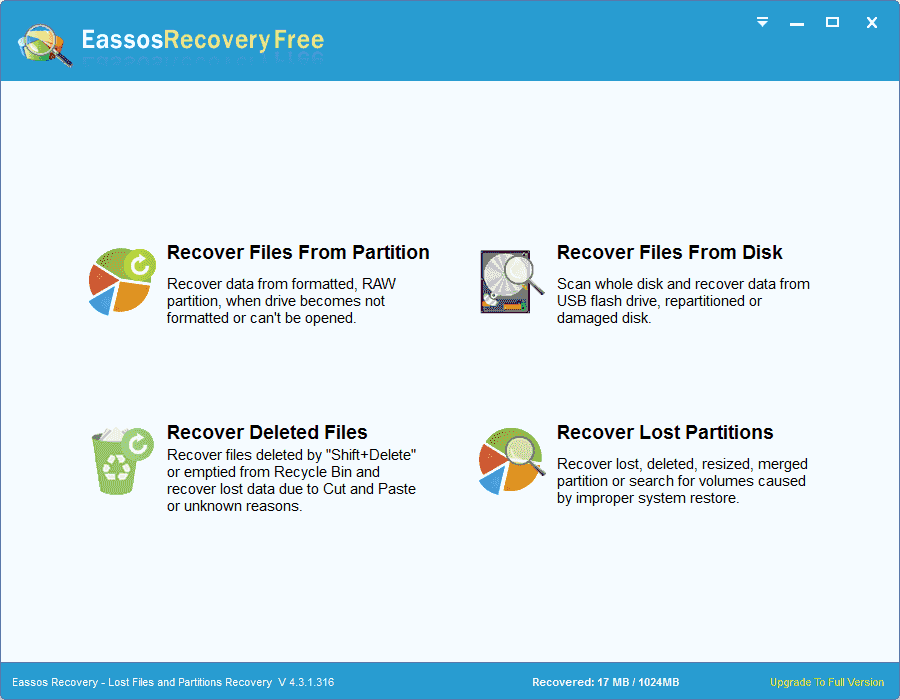
Step 2: Choose a recovery mode from home interface.
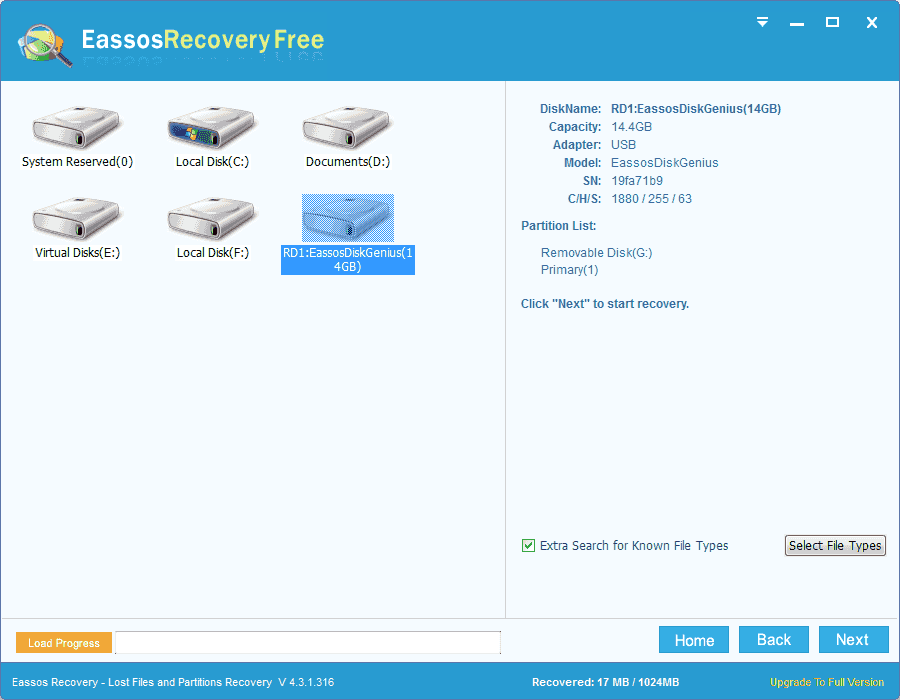
Step 3: Select the space where lost pictures were stored and and click Start button.
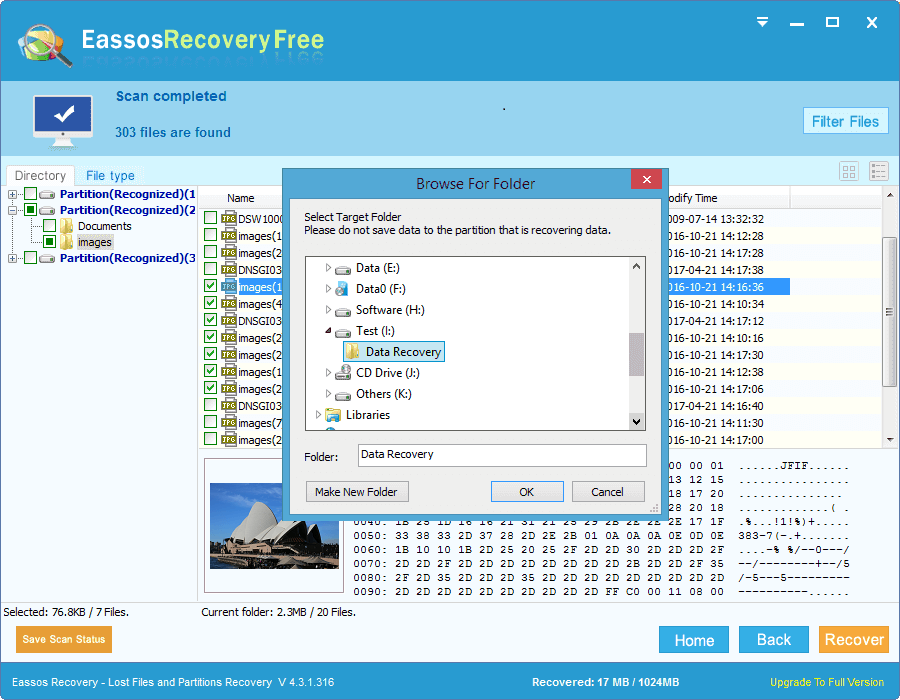
Step 4: After scanning process is completed, select photos and copy them to a safe destination.

