Digital camera has already made itself an integral role of modern society. A great number of people, ranging from photographers to home users, tend to use digital camera to take high-quality photos with digital camera. It is quite easy to capture photos for family members, friends and sceneries, as digital camera doesn’t require users have professional skills or any film placed in camera. All photos and videos taken by digital camera are stored on memory card which is usually removable.
However, in some situations, users may lose all valuable photos because of camera damage. Photo loss can be the worse situation, because past time can’t be live again and same photos can’t be captured. We can recall good old time by watching photos which can tell storied. These photos are precious to you and you surely don’t want to lose them. But, you have to bear in mind that all digital device can fail due to various causes, sometimes you even can’t find any warnings ahead.
To prevent photo loss, you can back up pictures from memory card to computer hard disk. And then you can review them on computer at any time you want. However, in some case, camera gets damaged before you are managed to backup all files. Photos may get lost due to many reasons, for instance, deletion, memory card formatting, virus infection, remove battery without turning off camera, and many alike. An updated backup proves to be real helpful to restore photos, but if you do not have a backup then you’ll need the help of photo recovery software such as Eassos Recovery.
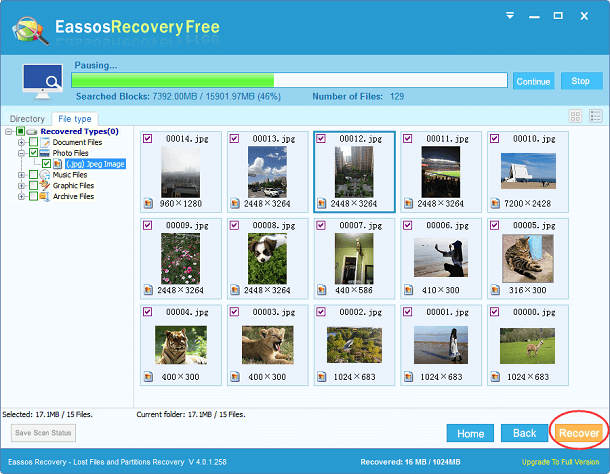
Eassos Recovery is created with a set of advanced photo scanning techniques which carries out in-depth scanning of digital camera or memory card. It has a simple and nice interface that makes memory card recovery and photo recovery easy. It doesn’t alter original data and directory structure, for the recovery is read-only.
How to recovery lost photos with Eassos Recovery?
Step 1: Download and install this recovery software to your computer.
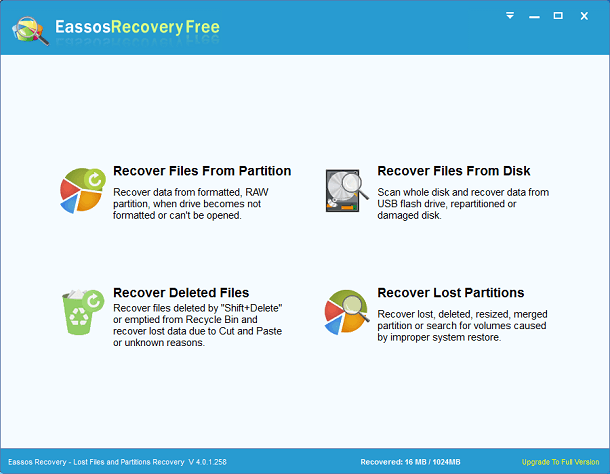
Step 2: Strat Eassos Recovery and select correct recovery mode.
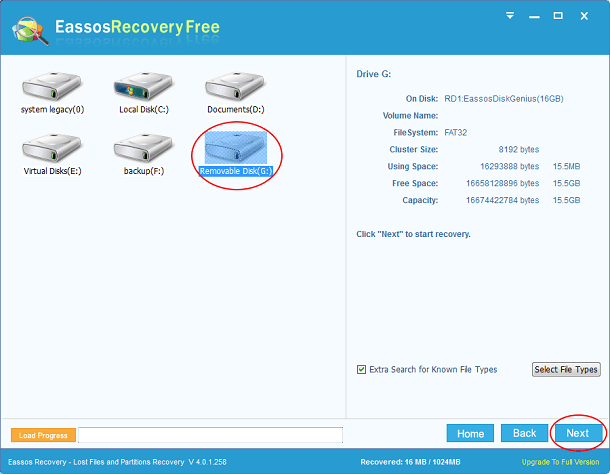
Step 3: Select the partition or drive where lost photos are stored and click “Next” button.

